How to save an Excel Range as an Image file (JPG)? Today’s post is inspired by my readers emails. In some of my previous emails I considered other Excel Image scenarios such as Adding Images to Excel using VBA or using the Excel Camera Tool to create an image snapshot in Excel. However today I stumbled across a different scenario: Saving an Excel Range as an Image File.
Excel to Image: Save Excel Range as Image
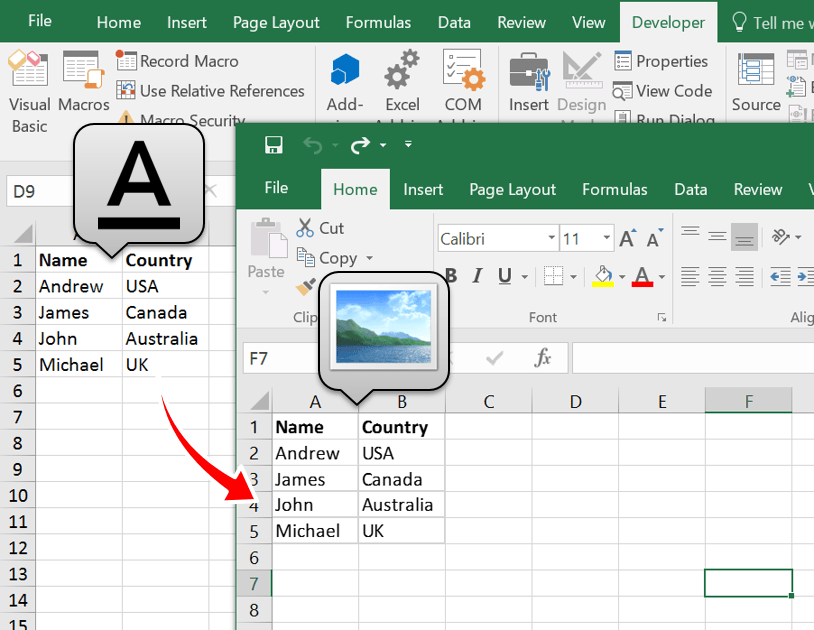
 Let us start with an example. The easiest way to create an image in Excel is to Select an Excel Range, next hit the Copy button from Home ribbon and finally by clicking Paste with Picture.
Seems at first like we are just one step away from saving the image as an image file right?
 Wrong! Only problem being… there is no Save As Image button easily available in Excel!
Of course you might say – why no copy and paste to MS Paint or another Image Editor? Yes that is always an option. But let me show you a much better and dedicated tool for taking Snapshots in any Windows application. Next I will show a way to achieve the task above with a simple VBA Macro.
Snipping Tool
 One way is to use the almighty Microsoft Snipping Tool which is great for creating image snapshots and saving them as images (PNG files).
 You can see how the Snipping Tool works easily.
The problem however is that the Snipping Tool is not very precise and often detailed Excel Range images are cumbersome to achieve. This is where as usually we can use a bit of Visual Basic for Applications to automate this task…
Excel to Image with VBA
Now let us create an Image from an Excel Range like a pro. First copy the Excel VBA code below to an existing or new VBA Module:
Sub SelectedRangeToImage()
    Dim tmpChart As Chart, n As Long, shCount As Long, sht As Worksheet, sh As Shape
    Dim fileSaveName As Variant, pic As Variant
    'Create temporary chart as canvas
    Set sht = Selection.Worksheet
    Selection.Copy
    sht.Pictures.Paste.Select
    Set sh = sht.Shapes(sht.Shapes.Count)
    Set tmpChart = Charts.Add
    tmpChart.ChartArea.Clear
    tmpChart.Name = "PicChart" & (Rnd() * 10000)
    Set tmpChart = tmpChart.Location(Where:=xlLocationAsObject, Name:=sht.Name)
    tmpChart.ChartArea.Width = sh.Width
    tmpChart.ChartArea.Height = sh.Height
    tmpChart.Parent.Border.LineStyle = 0
    'Paste range as image to chart
    sh.Copy
    tmpChart.ChartArea.Select
    tmpChart.Paste
    'Save chart image to file
    fileSaveName = Application.GetSaveAsFilename(fileFilter:="Image (*.jpg), *.jpg")
    If fileSaveName <> False Then
      tmpChart.Export Filename:=fileSaveName, FilterName:="jpg"
    End If
    'Clean up
    sht.Cells(1, 1).Activate
    sht.ChartObjects(sht.ChartObjects.Count).Delete
    sh.Delete
End Sub
What does the VBA Macro do? The Sub will do the following
-
Copy the selected Excel Range and paste it as a Picture
-
Copy the Picture to an empty Chart
-
Ask for the destination file name
-
Save the Chart as a JPG image
Now you may as Why not use VBA to save the pasted Picture as an Image file?. Well, you can’t (not so straight forward at least). The workaround above works pretty well however.
Using the Excel to Image VBA
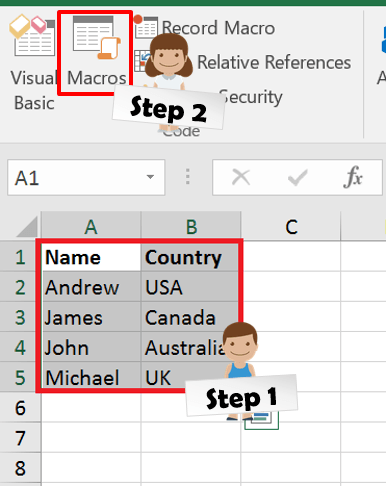 First select the Excel Range you want to save as an Image. To run the VBA Macro click the Macros button to open the Macros window.
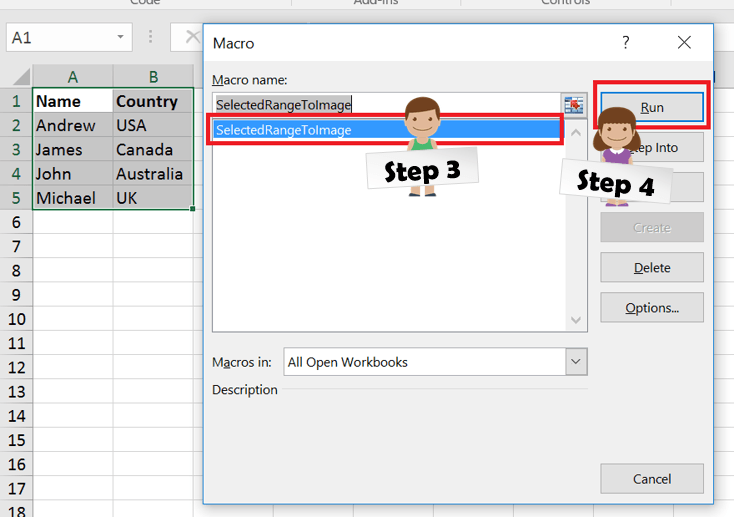 All that is left is to select the VBA Macro from the Macro window and to hit Run.
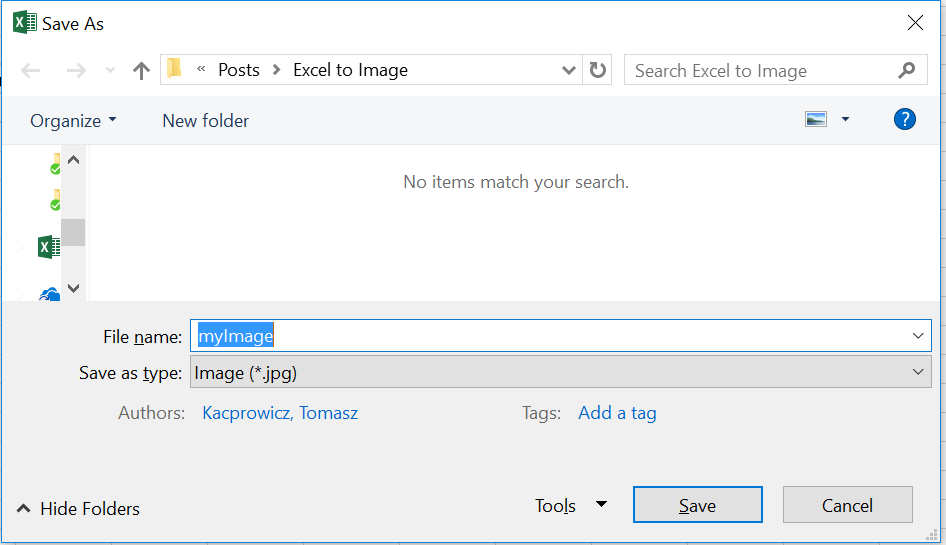 There may a short pause for the macro to process the image, shortly after the Save As file dialog should appear. Simply select your destination file name and hit Save and that is it!
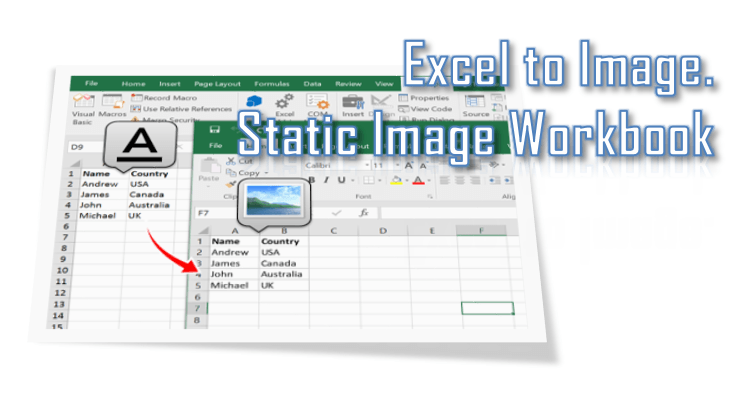
Save Excel as Static Image Workbook
As usual I am leaving the best for last. Say you want to share an Excel Workbook as readonly. You can try protecting the Password Protecting your Excel documents but the safety is limited if you want to protect your underlying formulas.
 What better way to protect your formulas then to send an Excel Workbook with print screen images of each and every Worksheet? The VBA Macro will additionally save the copy of your file as an XLSX file which means all VBA Macros will be removed as well.
Excel to Static Image Workbook VBA
Below the VBA code snippet to create a copy of your Workbook where every Worksheet is an image copy of the original.
Sub SaveStaticImageWorkbook()
    Dim ws As Worksheet, wb As Workbook, fDialog As FileDialog
    Application.DisplayAlerts = False
    Set wb = Workbooks.Add
    wb.Sheets(1).Name = "Tmp123"
    For Each ws In ThisWorkbook.Worksheets
        ws.Copy After:=wb.Sheets(wb.Sheets.Count)
    Next ws
    'Remove Sheet1
    wb.Sheets("Tmp123").Delete
    For Each ws In wb.Worksheets
        ws.Range(ws.Cells(1, 1), ws.Cells.SpecialCells(xlLastCell)).Copy
        ws.Select
        ws.Cells(1, 1).Select
        ws.Pictures.Paste
        ws.Range(ws.Cells(1, 1), ws.Cells.SpecialCells(xlLastCell)).Clear
    Next ws

    Set fDialog = Application.FileDialog(msoFileDialogSaveAs)
    fDialog.Title = "Save Static Workbook"
    fDialog.InitialFileName = ThisWorkbook.Path
    If fDialog.Show = -1 Then
      wb.SaveAs fDialog.SelectedItems(1)
    End If
    wb.Close SaveChanges:=False
    Application.DisplayAlerts = True
End Sub
Great right? I have noticed that in most cases the Image Workbook might however be a bit larger than the original file which has its slight downside. Then again this will depend heavily on the type of Workbook (more formatting larger file size).
Let me know what you think!