With today’s Excel tip of the day let’s have some fun with learning how to create an auto-applying filter to an Excel Table (or range). Let’s jump right to see how we expect our Excel Autofilter to work: We want to achieve the following behavior where our Table column is filtered as we type. This is a very convenient feature especially if you need to dynamically sit through a large dataset of different values. It is perfectly possible to be done in Excel with just a little VBA code.
The whole exercise takes just a minute or so – therefore I find the Excel Autofilter a really useful and flexible tool to use.
How to create an Autofilter
Feel free to review my video or read through for a step-by-step tutorial:
Let’s assume we have a similar dataset as shown above. This does not need be limited to a single column but can be spread out across as many columns we want. To facilitate this example I have however limited the data just to 1 data column of a simple list of first names.
Convert the Range to a Table
This step is not necessary, although will make matters much easier when wanting to create the macro as we move on.
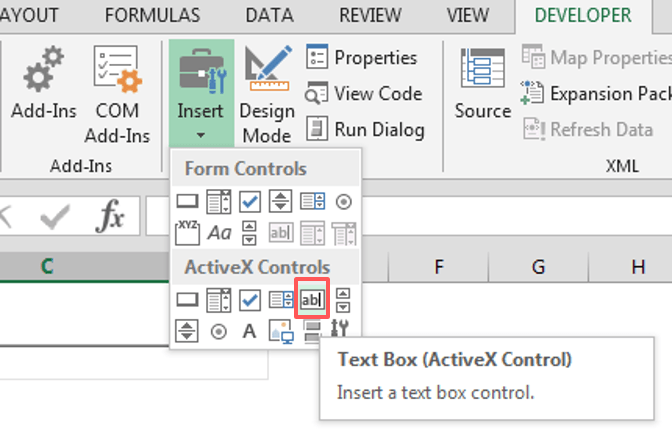
Insert a TextBox from the Developer tab
Now we need to go to the DEVELOPER tab and select Insert and pick Text Box from the ActiveX Controls section.
It is suggested that you name your text box appropriately e.g. “NameTextBox”.
Add filtering macro to TextBox Change event
Now the hard part. To create our Excel Autofilter we need to make sure that a filtering event is triggered whenever we want it to happen. Fortunately the TextBox ActiveX Control has a Change Event. The Change Event is triggered whenever the text in the Text Box is modified.
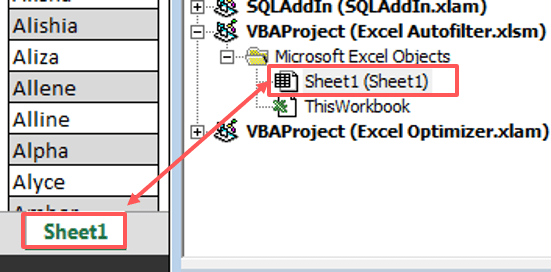
Open the DEVELOPER tab and open your VBA Project using the Visual Basic button. Now make sure to open the Worksheet on which your data and the Text Box is located as shown below: .
Now assuming the textbox is named “NameTextBox” and your Table is named “Names” paste the following macro into your Worksheet module:
Private Sub NameTextBox_Change()
    ActiveSheet.ListObjects("Names").Range _
        .AutoFilter Field:=1, Criteria1:="=*" & NameTextBox.Text & "*"
End Sub
Notice that the criteria is specified as follows “=*” & NameTextBox.Text & “*”. How to understand this? The “*” symbol is a wildcard which captures any number of characters (0 or more). Hence this expression will capture any string containing the text we type in our text box. If you want to filter names beginning with the string you are typing simply replace it with: “=” & NameTextBox.Text & “*” – notice I removed the first “*”.
Download the example
Feel free to download the working Excel Autofilter example here:
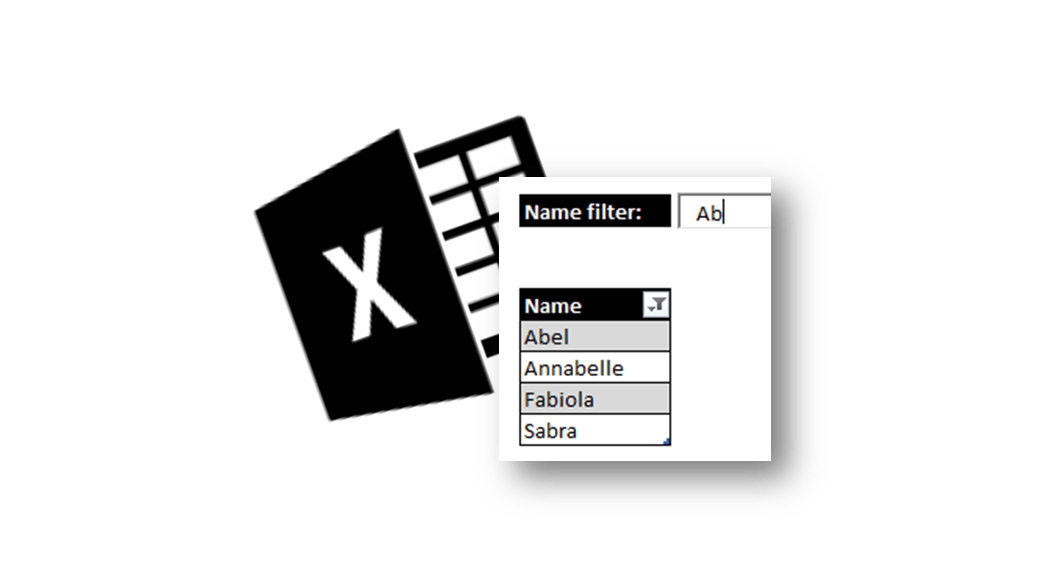
 We want to achieve the following behavior where our Table column is filtered as we type. This is a very convenient feature especially if you need to dynamically sit through a large dataset of different values. It is perfectly possible to be done in Excel with just a little VBA code.
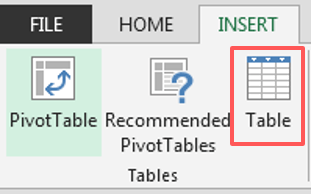
 .
.